Written by the ChemicalPeel.org editorial team. Published September 25, 2026.
Clinical review pending. This page has not yet been reviewed by a licensed clinician; read it as patient education, not medical advice. How we review
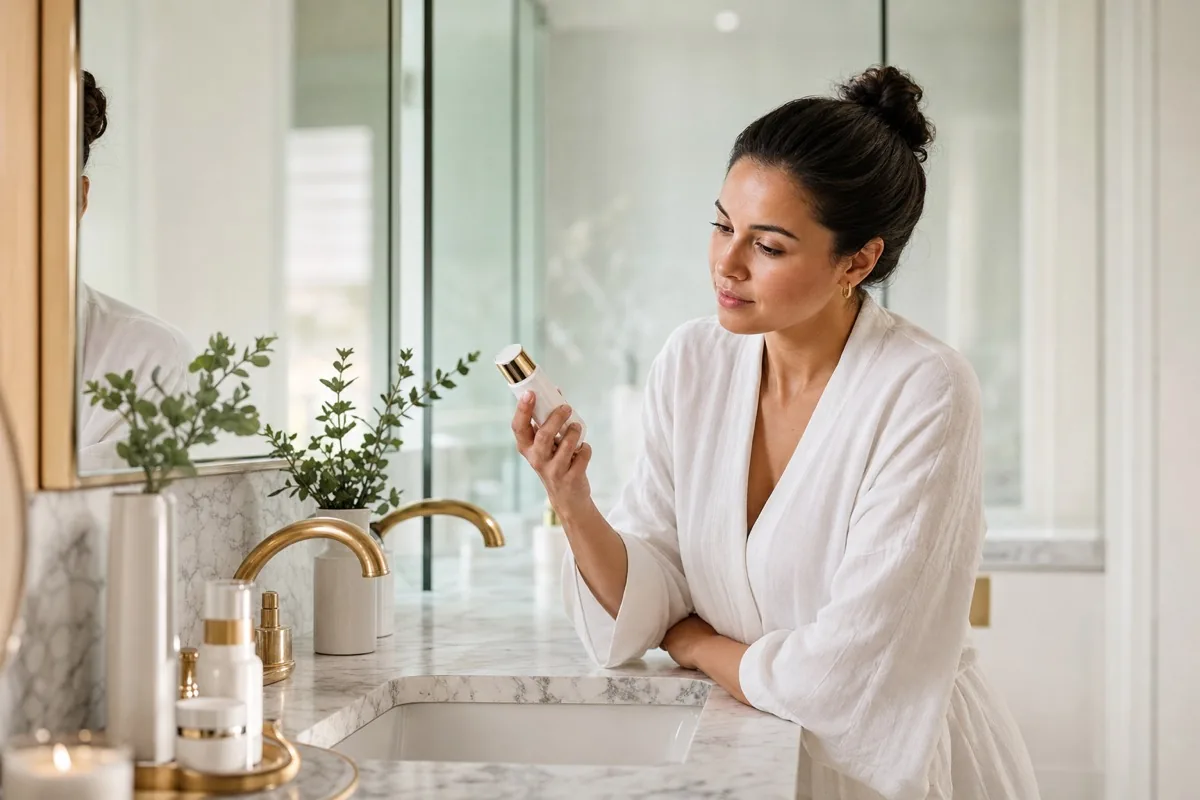
A chemical peel at home is a product you apply yourself, usually a leave-on liquid, a wash-off gel or mask, or a pre-soaked pad, built around a low concentration of an alpha hydroxy acid, a beta hydroxy acid, or a blend of the two. Used correctly, these products can brighten dull skin, smooth mild texture, and calm the occasional clogged pore; used carelessly, the same ingredients can irritate or burn skin. This guide covers what at-home peel products really are, how to read the label, how to patch test and apply one step by step, what never to combine them with, who should skip them, and when a professional treatment is the better move. For a full comparison of the two paths, see our guide to at-home versus professional chemical peels.
What "At-Home" Peel Products Really Are
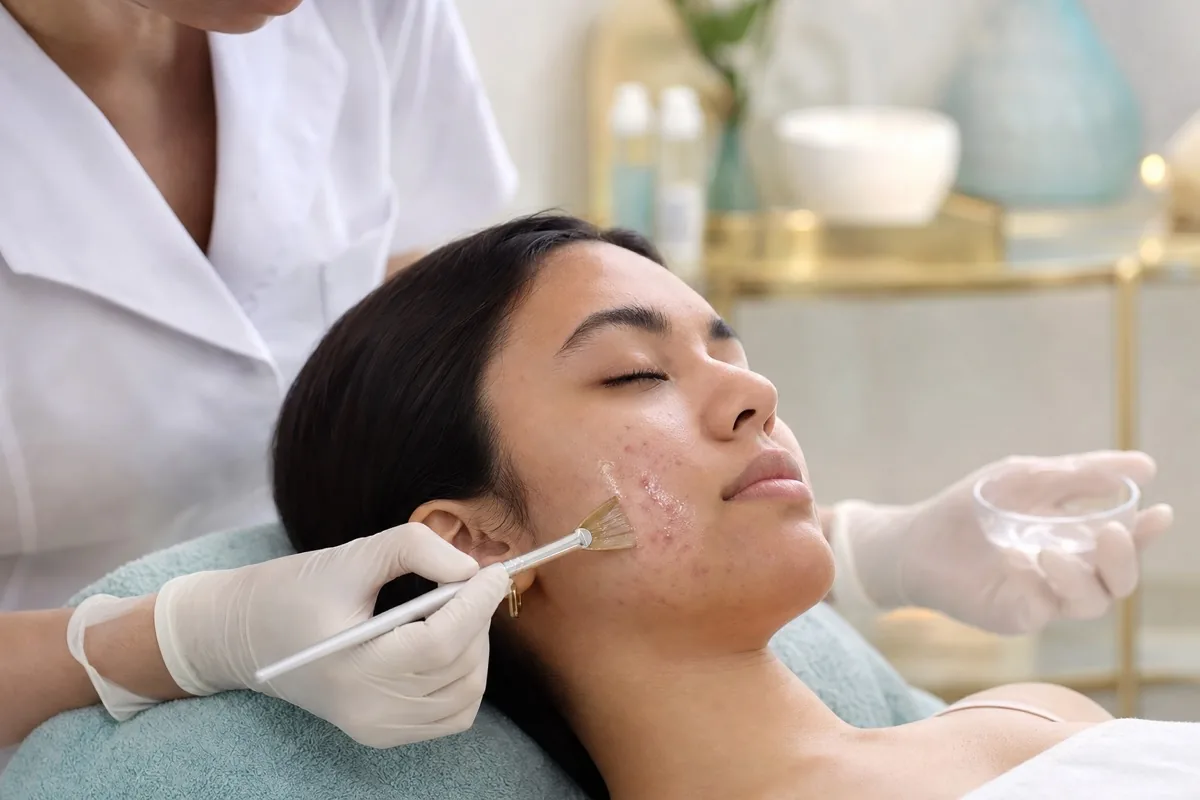
Retail peel products come in a few formats: leave-on serums that are not rinsed off, wash-off gels and masks applied for a set number of minutes, and pre-soaked pads that deliver a measured dose in one swipe. All three share one design choice: a low acid concentration and a milder, buffered pH, so the product stays in the epidermis, the outermost layer of skin, almost no matter how you use it. A clinic works the opposite way, using a stronger, lower pH solution and controlling exactly how long it sits and when it is neutralized, which is what lets a professional peel reach deeper on purpose.
The most common acids at home are glycolic acid and lactic acid, both alpha hydroxy acids that loosen the bonds between dead skin cells and help dullness and rough texture; see our glycolic acid peel and lactic acid peel guides. Mandelic acid is a larger, slower-absorbing alpha hydroxy acid often marketed as gentler, which is why it turns up in products for sensitive skin or deeper skin tones; see our mandelic acid peel guide. Salicylic acid is the common beta hydroxy acid at home; it is oil soluble and travels into the pore, which is why it is the usual pick for oily or acne-prone skin, covered in our salicylic acid peel guide.
How to Read the Label Before You Buy
The acid percentage on the front of a box tells you less than it seems to. Strength depends on the acid type, the percentage, and the pH together, so a higher percentage at a gentle pH can behave more mildly than a lower percentage at an aggressive one. Before buying, check the acid or acids in the formula, whether it is leave-on or rinse-off, and the stated contact time. A single-acid product is easier to predict and patch test than several acids stacked together. Treat words like "clinical strength" on a retail label as marketing, not a guarantee it performs like what a provider applies.
Common At-Home Acid Types
The table below compares the acids most often sold for home use against the strengths a provider typically works with, so you can see where retail products sit on the spectrum.
| Acid | Typical at-home strength | Typical clinic strength | Main use |
|---|---|---|---|
| Glycolic acid | About 5 to 10 percent leave-on, up to around 30 percent rinse-off | 20 to 70 percent | Dullness, rough texture, fine lines |
| Lactic acid | About 5 to 10 percent | 20 to 50 percent | Dryness and sensitive skin, mild brightening |
| Mandelic acid | About 5 to 10 percent | 20 to 50 percent | Oily skin and deeper skin tones needing gentler exfoliation |
| Salicylic acid | Up to about 2 percent | 20 to 30 percent | Oily skin, clogged pores, mild acne |
| TCA (trichloroacetic acid) | Not appropriate for home use | 10 to 35 percent | Pigment and texture, professional setting only |
What Results Are Realistic
Used regularly over several weeks, a well-chosen at-home peel can reasonably brighten a dull complexion, soften rough texture, help clear minor clogged pores, and improve how the rest of your routine absorbs. Those changes build gradually, not after one use. What an at-home product cannot do is remodel skin: melasma, established hyperpigmentation, true pitted or raised acne scarring, and etched-in wrinkles sit partly or fully in the dermis, below where a retail-strength acid reaches. If one of those is your main concern, a professional peel is a more direct route, and our guides to peels for hyperpigmentation and peels for acne scars explain why.
Patch Test First, Every Time
Apply a small amount of any new peel product behind your ear or on the inner forearm, then wait 24 to 48 hours before using it on your face. Look for lasting redness, itching, swelling, or blistering, not the brief tingling the instructions describe as normal. Patch test again whenever you switch products, even if you have used peels before without a problem; formulas differ enough that past tolerance does not guarantee the next one behaves the same way.
How to Use an At-Home Peel, Step by Step
- Start with clean, dry, intact skin. Never apply over broken skin, active breakouts, sunburn, or a recently waxed or shaved area.
- Apply a thin, even layer. Avoid the eyes, lips, nostrils, and any irritated patch of skin.
- Time it exactly. Use a timer and follow the stated contact time. Longer does not mean better results, it means a higher chance of a burn.
- Neutralize or rinse as directed. A rinse-off product comes off with cool water; a leave-on product stays on per the label, not your own guess.
- Moisturize right away. A bland, fragrance-free moisturizer supports the barrier while it resettles.
- Wear sunscreen daily afterward. Freshly exfoliated skin is more vulnerable to sun damage and rebound dark marks, so broad-spectrum SPF 30 or higher is not optional.
How Often to Use It, and How to Build Up
Start at the low end of the product's stated frequency, typically once every one to two weeks for a new peel, and give your skin a full cycle to react before you use it again. If several uses pass with only mild, short-lived flaking, you can move toward the higher end of the label's frequency, but never past it. Using a peel more often than directed does not speed up results, it raises the odds of irritation and dark marks. Our guide to how often to get a chemical peel covers the broader logic, including how a provider paces a series compared with a self-applied product.
What Never to Combine an At-Home Peel With
- Retinoids. Skip retinol the day you peel and the day after; layering exfoliants compounds irritation, not results.
- Benzoyl peroxide. A common source of unexpected dryness and stinging when paired with a peel.
- Other acid exfoliants. Do not stack a peel with a separate AHA or BHA serum, a low pH vitamin C, or a second peel product the same day.
- Waxing or shaving. Give freshly waxed or shaved skin a few days to settle first.
- Recent sunburn. Wait until sunburned skin has fully healed.
- Other resurfacing treatments. Skip peeling around microneedling, laser, or a professional peel. See our note on chemical peel side effects.
Who Should Not Use an At-Home Peel
- Pregnancy or breastfeeding. Salicylic acid is generally avoided; ask your obstetrician and a skin provider which ingredients are appropriate.
- Isotretinoin, currently or within 6 to 12 months. It changes how skin heals and raises the risk of irritation and scarring from any exfoliant.
- An active eczema flare or dermatitis. Acid worsens an already compromised skin barrier.
- Open, inflamed, or infected acne. Treat the breakout first and peel once skin is calm.
- Deeper skin tones without extra caution. Post-inflammatory hyperpigmentation is more common and slower to fade in medium and deep skin tones, so start with the gentlest acid and frequency. Our guide to chemical peels for dark skin covers how providers adjust for this.
Warning Signs of a Chemical Burn
Mild stinging, warmth, and light flaking that starts a day or two later and clears within a week are expected, not warning signs. A burn looks different: intense or worsening pain, spreading redness, blistering, raw or weeping skin, or stinging that does not ease after rinsing. If you see any of these, rinse with cool water right away, stop using the product, do not pick at anything, skip makeup and other actives until skin is healed, and keep the area clean and moisturized. Call a dermatologist or other licensed provider for guidance, or seek prompt care if the reaction is severe or spreading. Our guide to chemical peel gone wrong covers normal healing versus a real complication.
When a Professional Peel Is the Better Spend
An at-home routine is the wrong tool, and a consultation is the better step, when you are dealing with melasma, established dark spots, true acne scarring, or noticeable wrinkles, since those changes need dermal reach only a provider-strength peel delivers. It is also the better move if eight to twelve weeks of consistent use has changed nothing, if you have a deeper skin tone and want pigment addressed without triggering new marks, or if you want a plan tailored to your skin instead of guessing at a bathroom mirror. Professional superficial peels are often quoted at about $150 to $400 per session, and a provider can examine your skin, choose the right depth, and monitor healing in a way no retail product can. Our notes on choosing a provider cover what to ask before you book, and you can find a qualified provider near you or browse our med spa directory. For the rest of our library, see our chemical peel guides.
Frequently Asked Questions
Can I do chemical peels myself?
Yes, but only within the superficial range. Over-the-counter peel products use diluted acids designed to work in the outermost layer of skin, and they are made for self-application when you follow the label exactly. Medium and deep peels use stronger, differently formulated acids and are performed only by a trained provider; nothing sold for home use is designed to safely reach that depth.
Are there any at-home chemical peels that actually work?
Yes, within limits. A well-formulated at-home peel used consistently can genuinely brighten dull skin, smooth mild texture, and help clear the occasional clogged pore. What it will not do is reverse melasma, fade established dark spots, remove real acne scarring, or soften etched-in wrinkles, because those changes live deeper in the skin than a retail-strength product reaches.
What is the best over the counter chemical peel?
There is no single best product, because the right choice depends on your skin type and goal rather than a brand name. Oily or acne-prone skin generally does better with a salicylic acid formula, dry or sensitive skin tolerates lactic or mandelic acid better, and dullness or rough texture responds well to glycolic acid. Choose based on the acid, its percentage, and its pH rather than marketing claims, and patch test before a full-face application.
Can I do a chemical peel on my face at home?
Yes, as long as you use a product formulated for home use and follow the directions exactly. Patch test first, apply a thin layer to clean, dry, unbroken skin, time the application rather than guessing, rinse or neutralize as instructed, then moisturize and wear sunscreen afterward. Skip it if you have active breakouts, broken skin, or any of the contraindications covered above.
How often can you do an at-home chemical peel?
Follow the product label, which is usually written for once or twice weekly use for a leave-on formula and a similar cadence for a rinse-off treatment. Using a peel more often than directed does not speed up results, it raises the odds of irritation and dark marks. If your skin tolerates a product well after several uses, you can move toward the higher end of the label's frequency, but never past it.
What should I never combine with an at-home chemical peel?
Skip retinoids, benzoyl peroxide, and other acid exfoliants on peel days, since layering actives multiplies irritation rather than results. Do not peel over a sunburn, recently waxed or shaved skin, or skin that just had microneedling or laser treatment, and hold off if you have any open or inflamed breakouts. Space your actives out and let one product finish its job before starting another.